Description
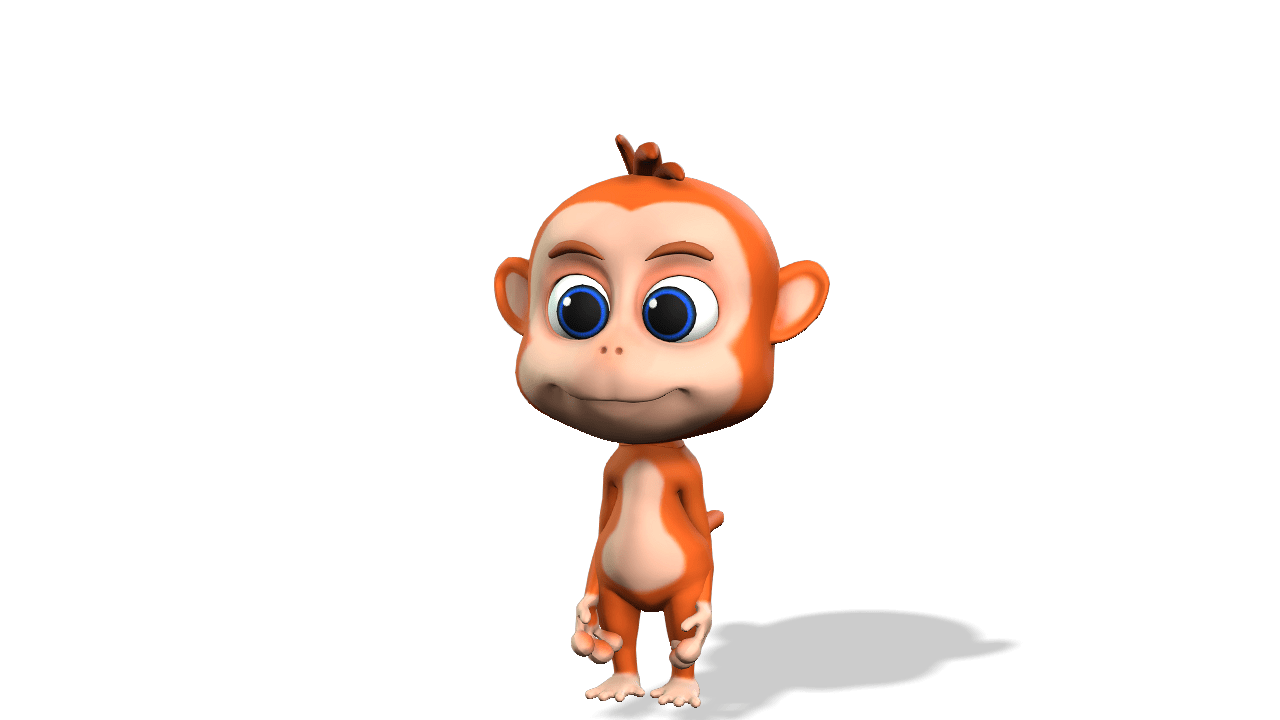
Alright, let’s get you started on creating a 3D monkey model! There are a few different approaches you can take, depending on your skill level, the tools you have available, and the level of detail you’re aiming for. Here are a few common methods:
1. Using 3D Modeling Software (Most Common & Versatile):
This is the most flexible and powerful way to create a detailed 3D model. Here’s a general workflow using software like Blender (free and excellent), Maya, 3ds Max, or ZBrush:
Get Familiar with the Interface: Each software has its own layout and tools. Start with basic tutorials on navigation, object manipulation (moving, rotating, scaling), and primitive shapes.
Start with a Basic Shape: Begin with a simple 3D primitive like a sphere or a cube. This will be the foundation of your monkey’s head or body.
Sculpting/Modeling:
Sculpting (ZBrush, Blender): Imagine working with digital clay. You push, pull, smooth, and add volume to the base shape using various brushes to form the monkey’s features. This is great for organic shapes.
Polygonal Modeling (Blender, Maya, 3ds Max): You manipulate the individual vertices (points), edges (lines), and faces (surfaces) of the object to shape it. This offers more precise control over the geometry.
Refine the Shape: Gradually build up the details – the muzzle, ears, eyes, limbs, tail, etc. Use reference images of monkeys to guide you on proportions and anatomy.
Add Details: Sculpt or model finer details like wrinkles, fur texture (can be done with brushes or later with texturing), and facial features.
Retopology (Often Necessary): If you sculpted a high-detail model, you might need to create a lower-polygon version (retopology) for animation or real-time use. This involves creating a new, cleaner mesh that follows the surface of your sculpted model.
UV Unwrapping: This is like unfolding your 3D model into a 2D map so you can paint textures on it.
Texturing: Apply colors, patterns, and surface details to your model using image editing software (like GIMP or Photoshop) or directly within the 3D software. You can create realistic fur, skin tones, and other surface properties.
Rigging (for Animation): If you want to animate your monkey, you’ll need to create a skeleton (rig) and assign it to the model’s geometry so you can pose and move it.
Rendering: This is the final step where the 3D software generates a 2D image or animation of your model.
2. Using Online 3D Modeling Tools (Simpler, Web-Based):
There are some web-based tools that offer a more streamlined approach, often with simpler sculpting or block-building methods. Examples include:
Tinkercad: Very beginner-friendly, using basic shapes that you can combine and modify. You could create a stylized, blocky monkey with this.
SculptGL: A free, browser-based sculpting tool. It’s less feature-rich than dedicated software but good for practicing sculpting fundamentals.
3. 3D Scanning (If You Have a Physical Monkey or Similar Object):
If you have a physical monkey toy or a similar object, you could potentially use a 3D scanner (if you have access to one) to create a digital model. However, this often requires cleanup and refinement in 3D modeling software afterward.
Tips for Success:
Start Simple: Don’t try to create a hyper-realistic monkey on your first try. Begin with basic shapes and gradually add complexity.
Use Reference Images: Gather plenty of reference photos of the type of monkey you want to create from different angles. This will help with proportions and details.
Learn the Basics of Anatomy: Understanding basic monkey anatomy will make your model look more believable.
Follow Tutorials: There are countless free tutorials online for all the software mentioned. Search for beginner guides specific to the software you choose.
Practice Regularly: Like any skill, 3D modeling takes practice. Don’t get discouraged if your first attempts aren’t perfect.
Break Down the Task: Think of the monkey as a collection of simpler shapes (head, body, limbs) and tackle each part individually.
Which method should you choose?
Beginner with no software: Start with Tinkercad for a simple, blocky approach or explore SculptGL for basic sculpting.
Interested in learning professional 3D modeling: Download Blender. It’s free, powerful, and has a huge community with tons of learning resources.
Have access to other 3D software: Follow the general workflow outlined in the first method, adapting it to your specific software.
No matter which path you choose, have fun with the process! It’s a rewarding skill to learn. Let me know if you have any more specific questions as you get started!

Reviews
There are no reviews yet.